Build a Image Rotator using ActionScript 3 and XML
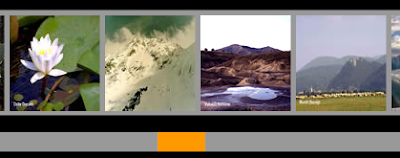
We will build a nice image rotator that has a navigation. The image rotator works like this: the images are rotated at an interval of 5 seconds if the mouse cursor is outside the rotator area, when the mouse is over the rotator the rotation stops; when your mouse it's over one button from the navigation menu the rotator jumps to the corresponding slide. This is how our image rotator will look. 1. Image rotator project structure. Make a new folder a name it imageRotator , inside create the fallowing folder structure: css xml images ro sorin utils For this tutorial we will reuse some classes from a previous tutorial, the CustomButton class and the TextLoader class. You can read more about the classes here: more about CustomButton class and more about TextLoader class . The utils folder contains the TextLoader class, we will use this class to load the xml file and the CustomButton class, used to add navigation to our image rotator. If you want to fallow the tutor...